Parent & child screen printing workshop Come spend quality time together and learn a new creative technique.
Come learn how to create your own handmade prints!
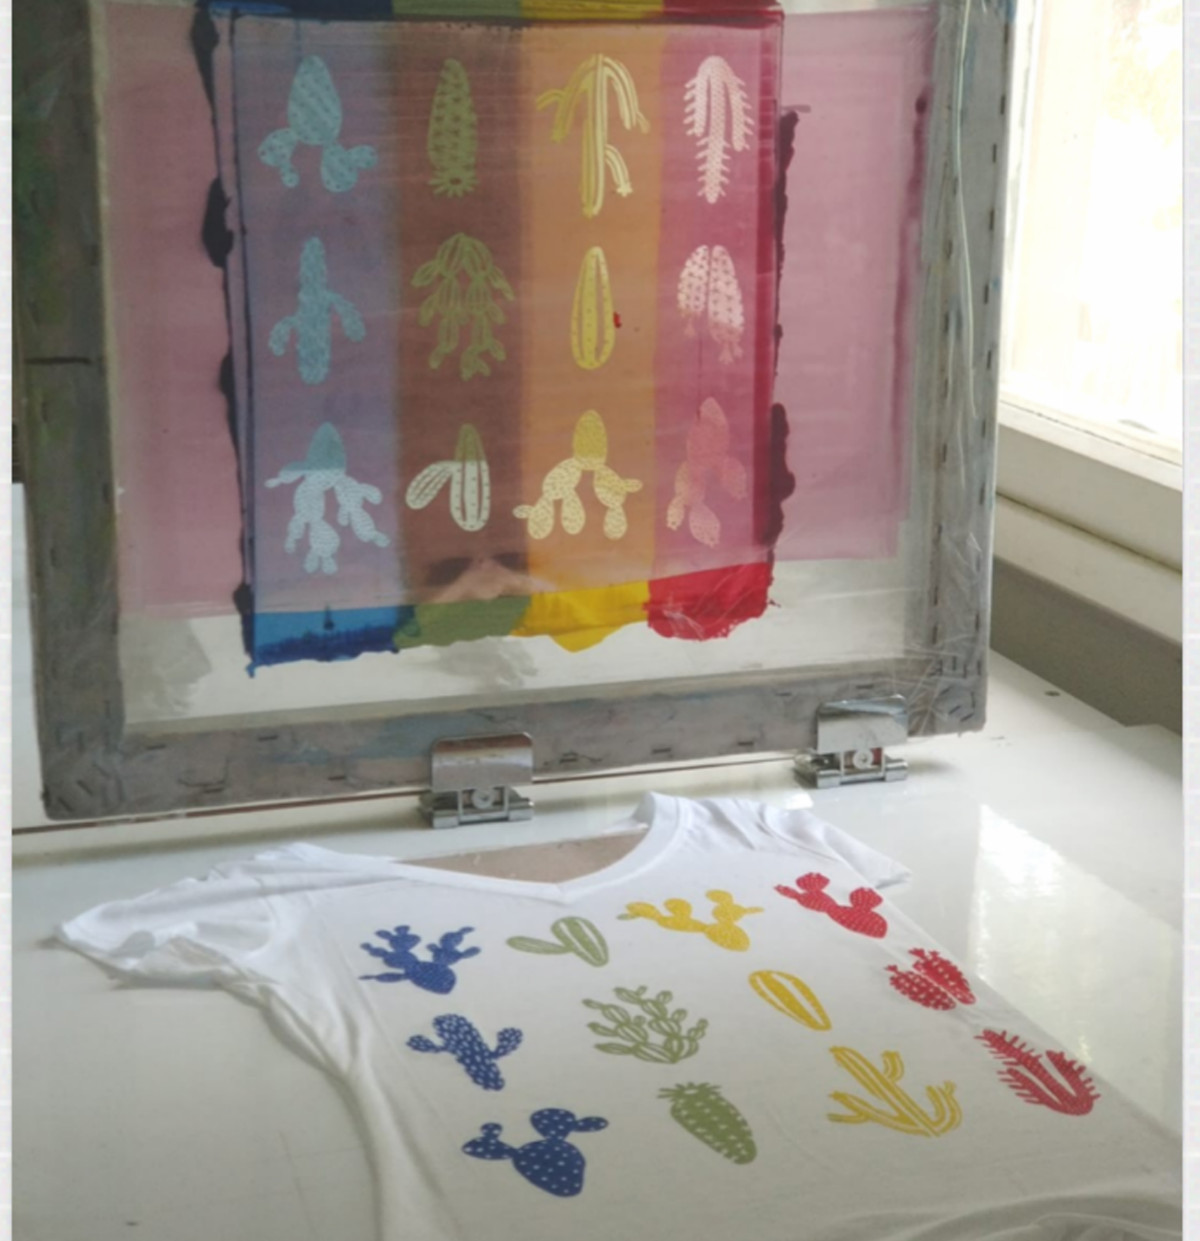
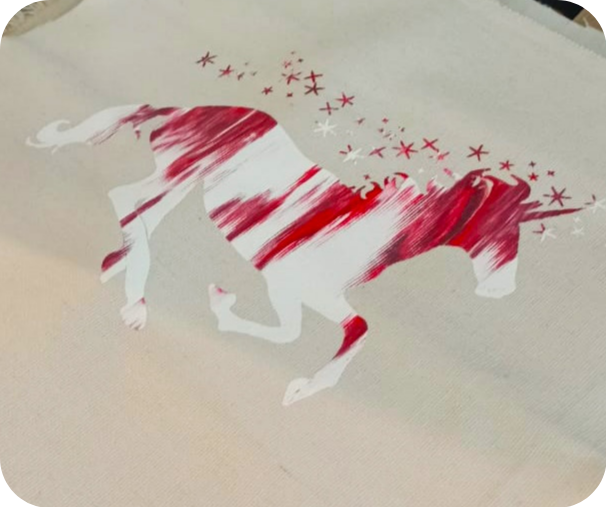
In this workshop, you’ll explore the process of screen printing from start to finish. You’ll print on a variety of materials of your choice and leave with beautifully printed paper and fabric pieces of your own.
You’ll create and prepare your own unique design in advance, then print it on the materials you bring — fabric, paper, wood, and more.
Please send me an illustration or graphic your child likes before the workshop date, so you can arrive and start printing right away.
The workshop is designed for children ages 5–11.
The price includes a 2-hour workshop for two participants (one child and one accompanying adult).
Each additional participant, child or adult, is €30 extra.
Please wear clothes that you don’t mind getting splashed with ink!
The studio is in Larnaka, Cyprus.
For more details please contact Inbar at: +357 95 696427
or send us a message here.